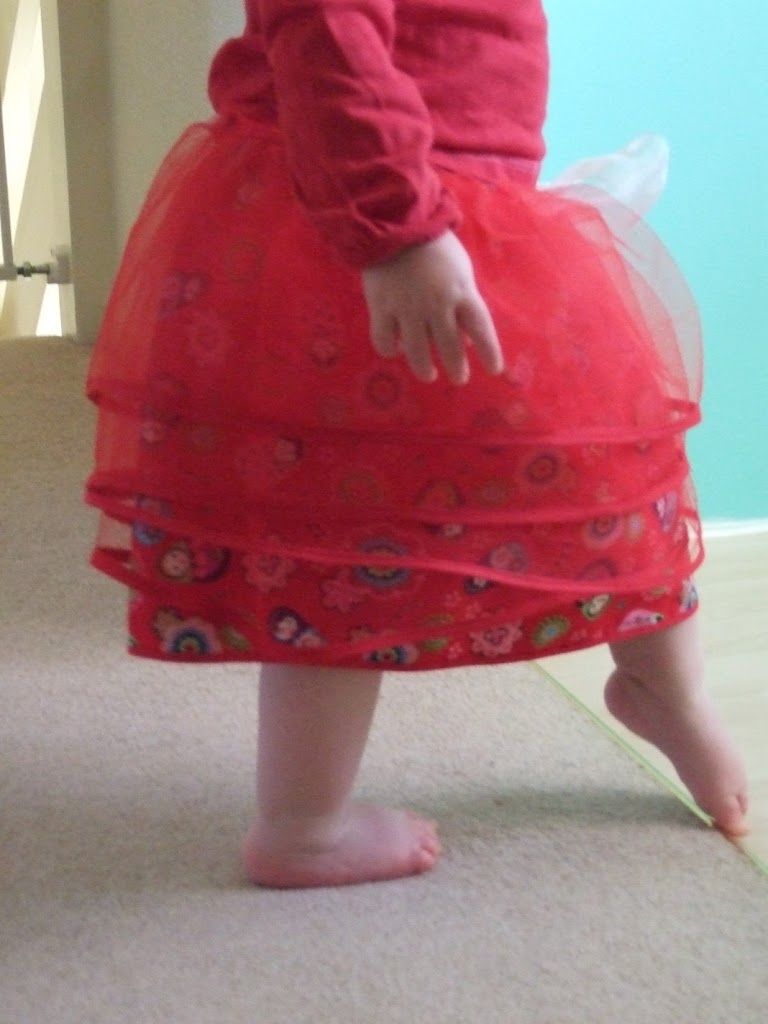
I have to admit I do have my reservations about this skirt. However, it does seem popular with all the little girls that I have come across. The basic underskirt is a very simple skirt to make, so you could stop at that stage. That said, if you like it, this is suitable for daily wear (if your name happens to be Fifi) or for special occasions and dressing up, this can be adapted lots of different ways. The basic skirt is suitable for beginners to make, the addition of the netting over skirt will require a little bit more skill. Please read the instructions in full to make sure you understand them, if not drop me an email and I’ll try and help!
You will need:
For the basic skirt
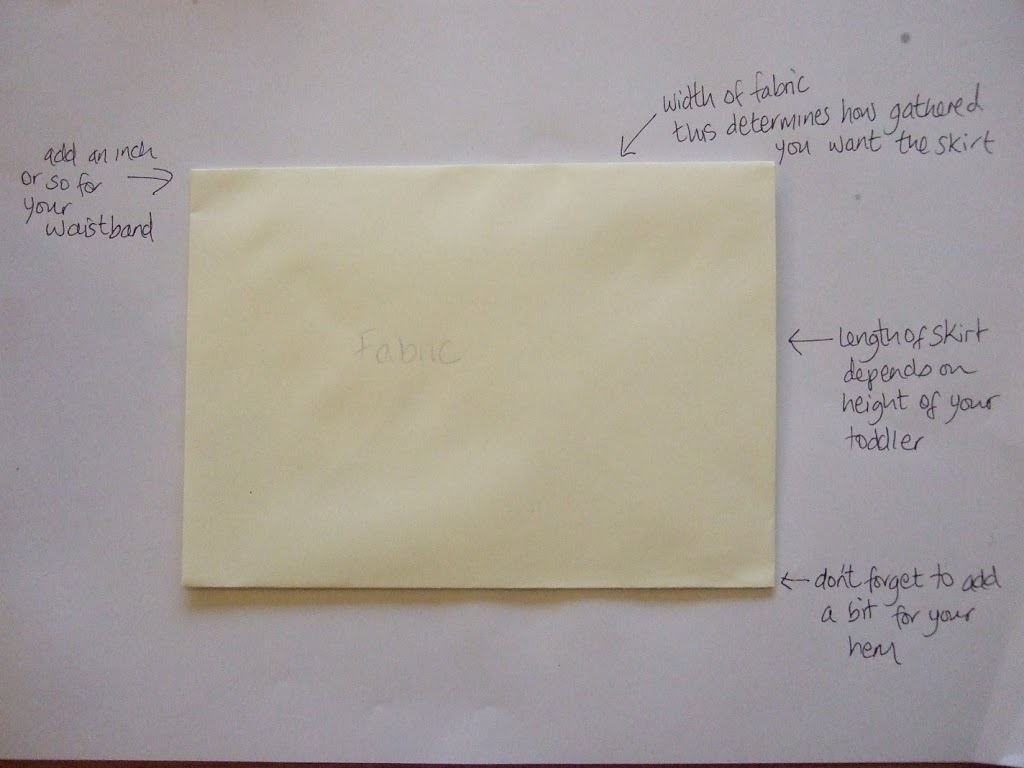
- An oblong of fabric (depends the size of your baby/ toddler ) but this one was 14.5 inches deep by 32 inches wide. The depth is the length that you want it plus 1 inch for the waistband and
 2 cm for the hem. The width is dependent on how gathered you want it, the more fabric, the more gathered!
 - Elastic
Fold the fabric in half so it is half the width and pin down the edge (the pins at right angles to the line you want to sew) the right sides should be f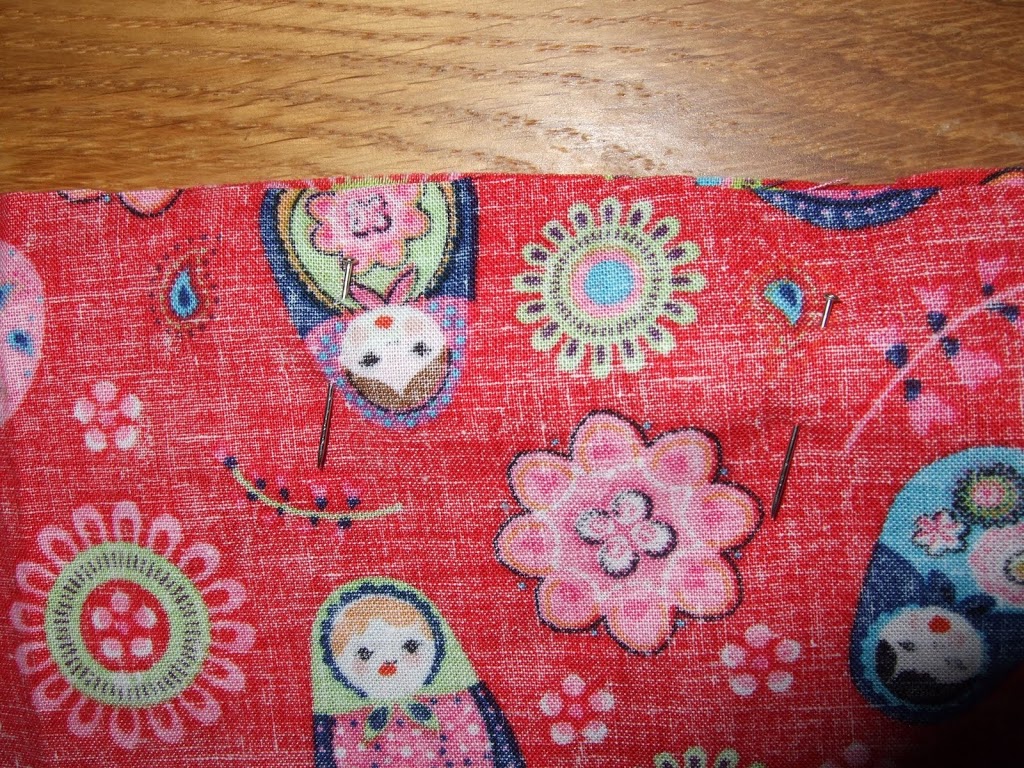 acing. Sew this edge. Press the seam open.
Fold the top edge of the skirt over about 1 cm so that you can see the right side of the fabric, press.
Then fold about 5 cm or so of the top edge of the fabric over again in the same direction. You will then have created the waistband with a neat edge. Pin this down. Then machine sew the folded edge down to the rest of the skirt, stopping before you get to the seam, so you have a small opening (this is so you can thread the elastic through). You 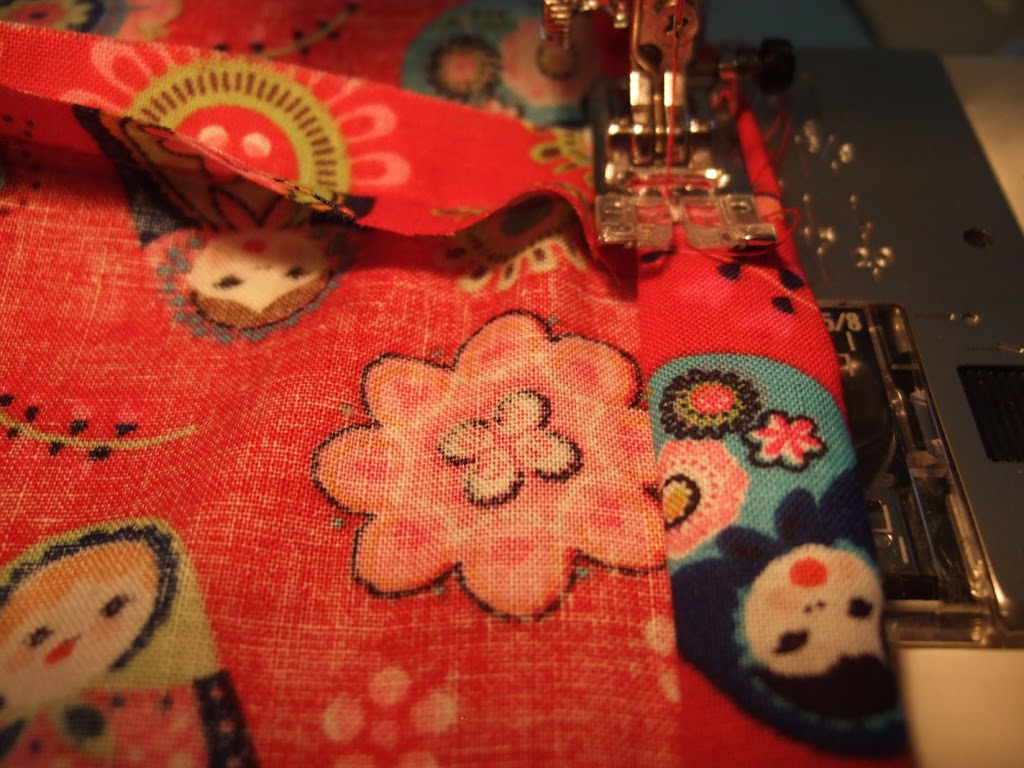 have created the waistband. Press
Fold the bottom edge of the skirt up about 5 cm, then fold it over again, this creates the hem. Press
Measure your child’s waist and cut an appropriately sized piece of elastic, I usually cut it about 1 cm smaller than the measurement, this allows the elastic to stretch.
Put a safety pin on the end of the  elastic and thread it through the waistband.
Sew the ends of the elastic together.
Machine sew the opening in the waistband. At this point I also usually do a few stitches at right angles across the waistband, just to secure the elastic.
You have finished your basic skirt.
If you are using your skirt as an under skirt for the netting skirt:
For the netting over skirt you will need:
- Netting
- Bias Binding
Cut oblongs of netting, I would measure them the same as the skirt, the width dependent on how gathered or sticky out you want the over skirt.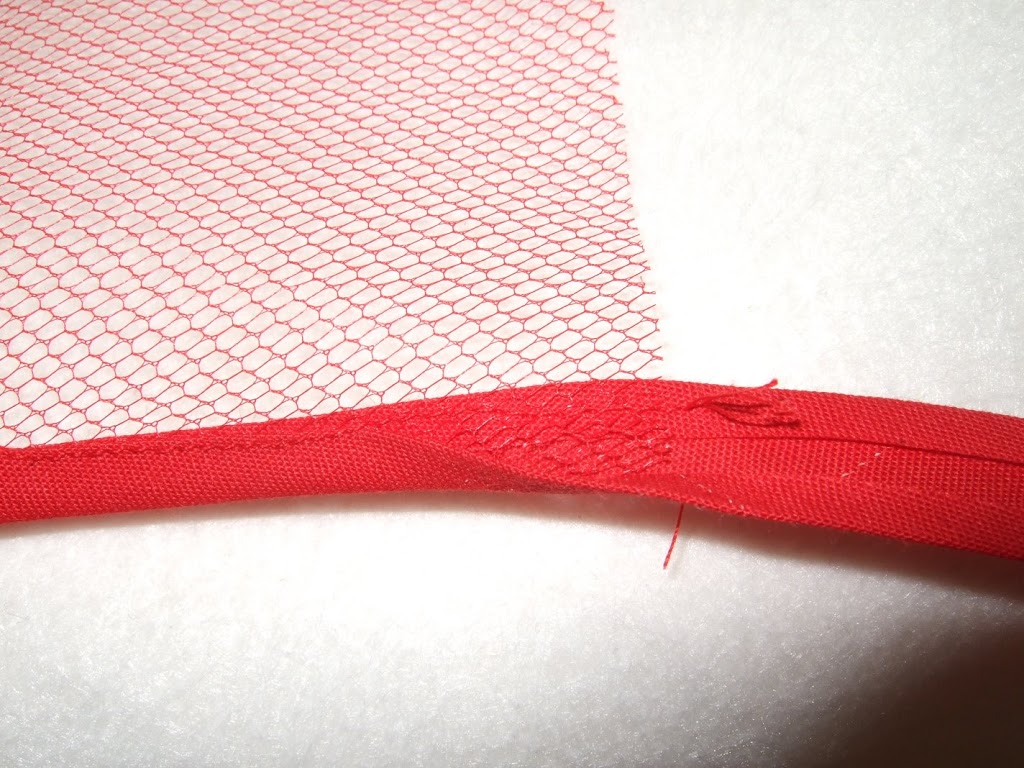
Machine some bias binding along the bottom edge of the netting. I think this gives a nice finish, although it is not essential to do this. You do this by folding the bias binding so you sandwich the netting between it.
Lay out the netting one on top of each other.
Move the netting so that there is a 1 cm gap between the bottom of each piece of netting.
Place the netting on your skirt and cut the excess off the top. By this, I mean that if you lay the netting skirts (with their appropriate spacings on top of your skirt a few of the layers will be longer ( above) the top than the waistband of your skirt, you need to cut the netting so that it is all in line with the bottom of the waistband.
Use long running stitches to gather at the top edge, each piece of netting.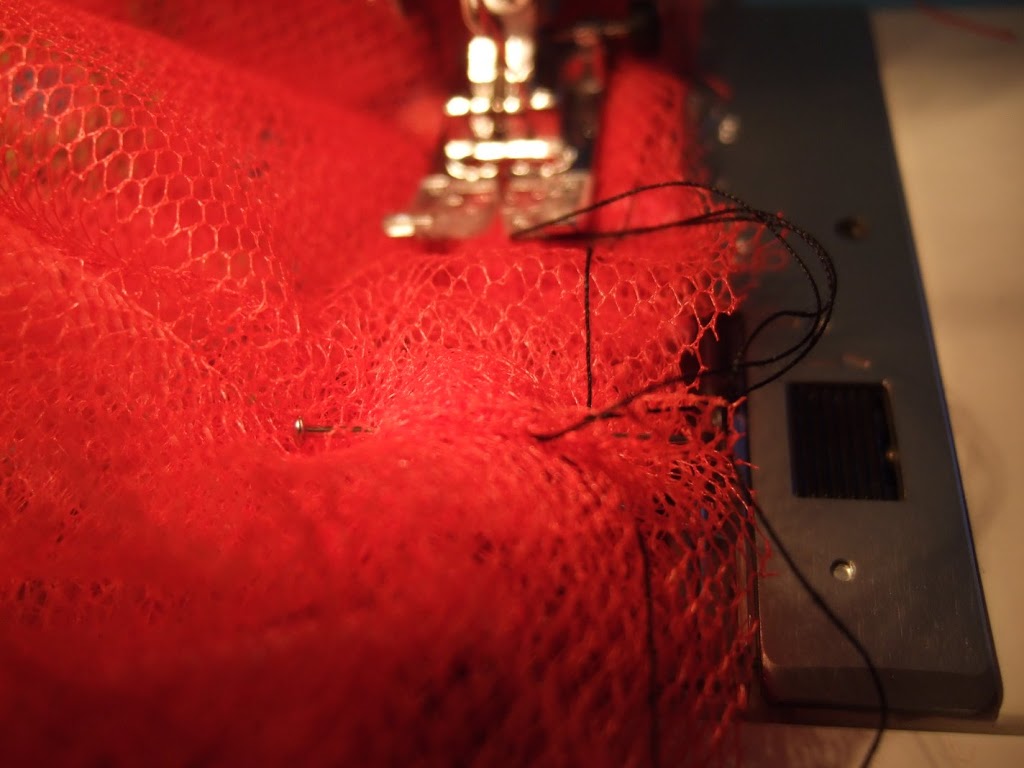
Pin each piece of netting to the underskirt just below the waistband and machine sew them in place.
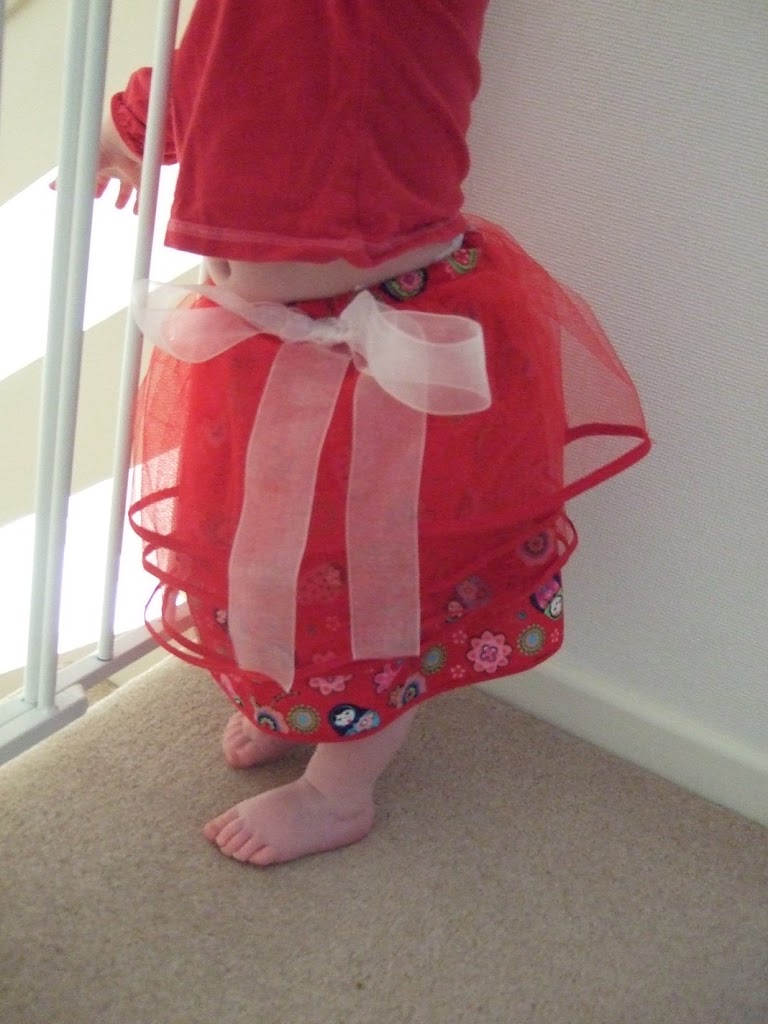
Cut a strip of fabric Two inches wide by 2 cm longer than the width of your original skirt. This will cover up the rough edge of the netting and create an over- waistband. Alternatively you could machine sew some ribbon to cover the top edge of the netting.
If you are creating an over waistband:
Pin the right side of the fabric to the machined edge of the netting. Sew it in place. Fold it over the top of the waistband and repeat (making sure to fold it over once on the raw edge to create a nice edge to the inside waistband).
Depending on where you sewed the over skirt you may find that it is too tight for the elastic to stretch enough for your child to put it on. If this is the case, simply machine the waistband at right angles twice so you are machining through the elastic two times and cut in between your to lines. You can then neaten the edges and put a button or hook. This also works well if you want to make the skirt last a little bit longer.
Don’t forget, if you make one of these, send me a picture so I can see!


1 Comment
Fifi is one lucky lady. You should think about starting a cottage business. Honestly. x D